
While working with a wood burning pen and exchangeable tips, it’s possible for a tip to break. This has happened to beginners and experts alike, especially with cheap pens or if working in a rush. What happens is that the part of the tips that screws to your tool gets stuck and it can be very hard to get out. When trying to do so, most people would apply more force than necessary and end up breaking the tip, leaving the screwing part stuck in the pen. So, how do you get a broken tip out of a wood burner?
Wood burning has become a very popular hobby in the last few years, and with more people creating art in this very particular and fun way, we have seen more and more questions about dealing with broken tips stuck in wood burners.
As relaxing as wood burning can be, getting a tip stuck and broken in a wood burning pen can be really annoying and frustrating. The seller may offer after-sale services at convenient prices. But if you’re planning to face the delicate task of removing a broken tip out of a wood burner, we are here to guide you step by step.
We will start with some useful tips to avoid having to deal with broken tips. After all, it’s easier to avoid dealing with this problem at all.
After, we will discuss different methods to help you get that annoying broken tip out of your wood burning pen. Finally, we will leave you with some wood burning tool replacement tips that will help you take better care of your wood burning pen.
What to do to avoid broken tips on a wood burner?
- Let the wood burning tool cool down before removing the tips
- Use the right pressure to screw the tips
The best way to avoid having to deal with this problem at all is to simply avoid getting your tips broken. But, how do you avoid tips breaking on your wood burning pen?
First of all, you need to keep in mind that the pen is heating and cooling constantly. The changes in temperature may affect the metal of the tips and contract or expand them. This is true especially if you don’t let the pen cool down completely when you want to change a tip. This is probably the most common way people find their tips break. People try extracting the tip when it’s not cool and end up breaking it.
Another reason that may lead to broken tips is when people tighten their tips to much. It’s recommended to avoid pliers to position and secure the tips. Just using the force of your hand is enough, the tip won’t fall and you will be able to use your pen without any problems and change tips easily.
So, to avoid getting broken tips and having to deal with the annoying stuck piece in your pen remember: do not tighten your tips too much and make sure you wait till they are completely cool before you change them.
How do you get a broken tip out of a wood burner?
Getting a broken tip out of a wood burner is a delicate task that requires patience and a few particular tools. We are going to guide you step by step with the easier more efficient way of removing a broken tip of a wood burning pen. However, depending on how your tip has broken, it may not work as well.
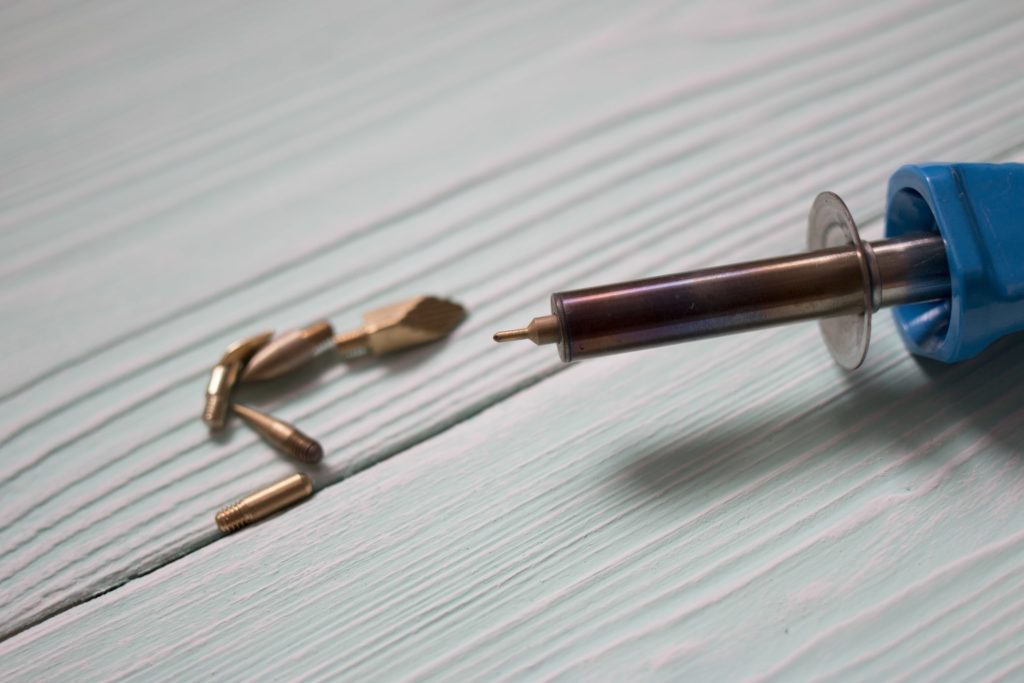
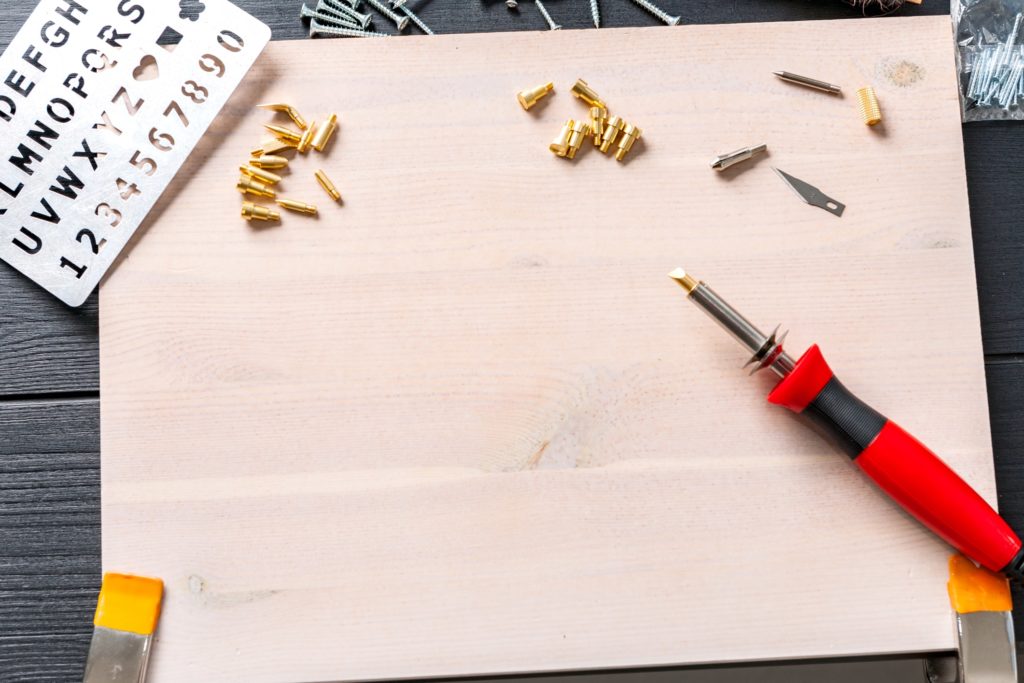
To be able to remove a broken tip that is stuck in your pyrography pen you need to use a particular tool called screw extractor. They come as an attachment for your drill and are usually sold in kits with different measures.
Step 1: Let your pen cool down completely
The pyrography pen has to be completely cool before you start working on unscrewing the broken tip.
Unplug it from the current as well and position it on a clean working table. You should also have enough light to be able to work on it.
Step 2: Choose the right tools
You will need the right measure for your screw extractor. The attachments come with two ends, one for cleaning the stuck screw, commonly known as a burnisher, and another to actually remove it, which we call an extractor.
The screw extractors come in individual pieces (if you know exactly what size you need) or in kits with some different measures.
Prepare your drill making sure you have enough battery or it’s properly plugged in.
Step 3: Clean the head of the screw
First, you are going to use the burnisher, which is the side of the attachment that will clean the surface of the broken tip. It’s the side that looks similar to a conventional drilling end.
This tool will allow you to create a big enough hole that later will be used to remove the screw. It’s very important that you make sure your drill is set in reverse to do this.
When you’re done with this tool (and you have to be very careful to apply the right pressure) you should see a hole on the head of the screw part of your tip.
Step 4: Use the extractor to take out the tip
Turn around the attachment. Now you’re going to use the part that looks like a screwdriver but with the sharp threads in the opposite direction. Keeping your drill always in reverse, make pressure on the screw and very slowly force it out of the pen.
If the screw is still not coming out, you may need to repeat steps 3 and 4.
This process is complicated and requires quite a bit of patience.
If not done correctly you risk damaging your pen and having to get rid of it completely. This would represent a cost since you will have to buy a new one.


