
If you are into pyrography and excited about creating original pieces of art or decorative objects, you have probably considered creating a piece with wood burning letters or have been thinking about signing your art piece in order to make it unique.
Adding letters to your wood burning projects can be a great way to make it your own personalized art piece, a symbolic gift, or a way to design rustic signs to decorate your house. Whatever is that you want to create, there are some basic steps you need to follow to create the most beautiful wood burning letters.
First of all, you have to choose the right type of wood. It’s better if it’s soft with subtle grains. Then you need to prepare it for wood burning. This means sanding it and making sure it’s soft and clean. After you want to select the tools you are going to use , like the wood burning pen and tips. And finally, get your design ready.
Now, you’re ready to burn whatever wood burning letters you want, creating a unique and personalized piece of art.

Wood burning letters for beginners
If you’re facing your first project with letters, continue reading, this article is for you!
Have you selected the wood you want to use? It should be a type of wood that is easy to burn as you don’t want to be lifting your pen or having it stuck in a grain. Next, you have to take the measurements and use the computer to create a template that you can print. Make sure the writing fits your piece of wood. Different programs offer the possibility of changing the fonts and the measurement of the document.
Of course, you can choose to directly write with a pencil on the wood. But using the computer allows you to have a wider variety of fonts and keep the design clean when transferred onto the wood. Without a doubt, this is the best way of making your writing look professional.
To stamp the letters on the wood we wouldn’t recommend using a stencil since letters may be really thin lines. Instead using carbon paper is a much better option that will leave you with a clean pattern to then follow with your wood burning pen.
The next step is to choose your tips carefully. What tip to use will depend on the thickness of the lines you need to create and how many curves your writing has.
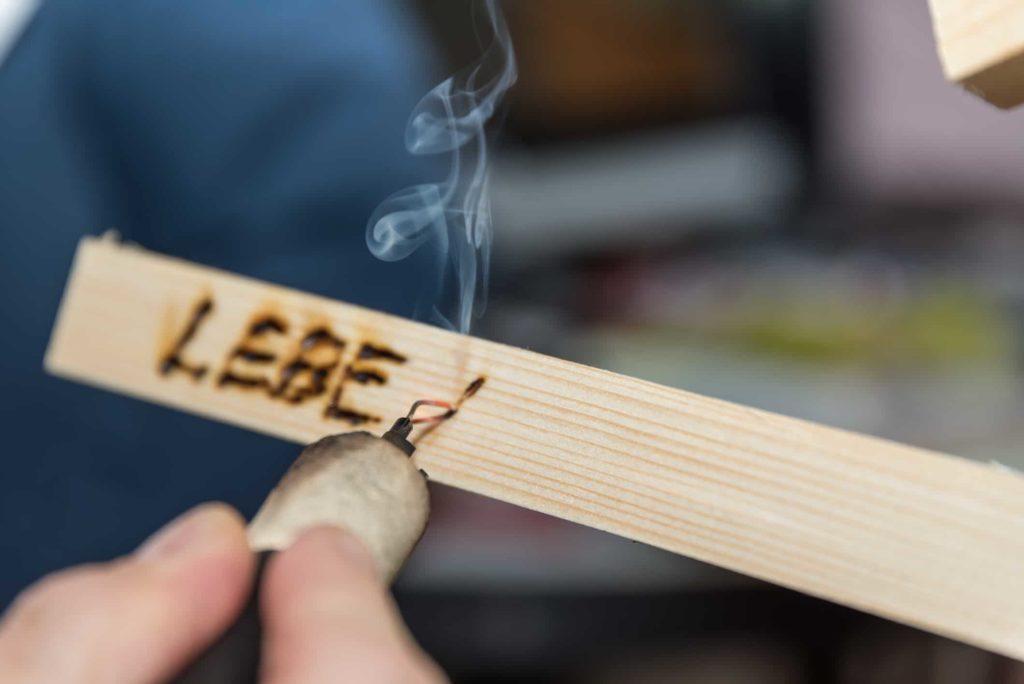
Now, we are ready to start wood burning letters!
Typical Wood burning letter designs
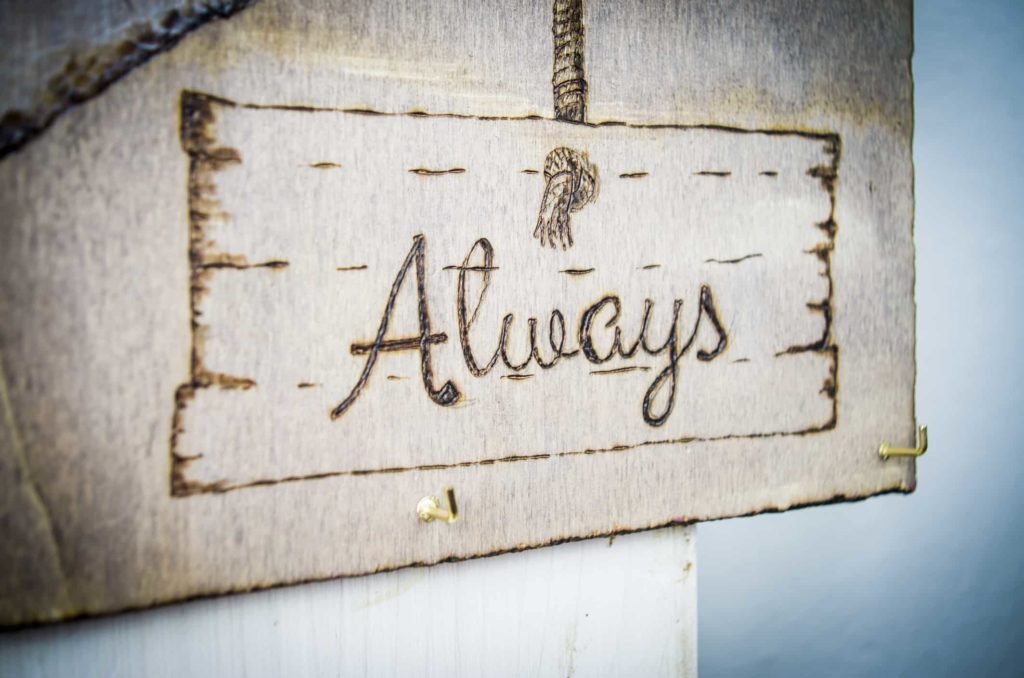
Handwritten signs
These are very popular at the moment. They are cheeky and send fun vibes to readers. Making wood burning pieces with handwritten fonts makes for a great decoration piece or personalized gift and for sure sends off a young and vibrant message.
Handwritten signs are also very popular for motivational signs.
Rustic letters
Rustic writing is also very popular in the world of wood burning. They match the style of the burning and the wood with its grains and colors.
Rustic signs are also a great way to make a space feel homey and welcoming.
No doubt the rustic charm is always fashionable!
Decorative fonts
This type on font is usually very ornamented and rich in details. While it may be harder to burn, with soe practice you should be able to master it, creting very vibrant signs and lovely art pieces.
It is usually combined with other lines, small fowers, or ribbons. This makes them uite artistic and fun to play with.
Best techniques for wood burning letters
- Choosing the right tips
- Control the temperature of your wood burner
- Apply correct speed and pressure
Choosing the right tip
Many people prefer the universal tip for wood burning letters. It’s easy to use, everyone has one, and it’s good to create good designs, outlines, and straight lines.
Another option is the calligraphy tip. This one is preferred for fonts with lots of curves or to create a more natural cursive writing. This tip was especially thought to do writing and you may find it very useful when working with letters.
The last recommended tip is the extra fine one. This one is used mostly for extremely detailed work, straight lines, and curves. That’s why it can be very useful with tight writing and very rich cursive fonts.
Choosing the right tip for your projects will mostly depend on the size and font of your design. Are your letters big and bold? Are you writing in cursive with tight curves? Is your font complicated or mostly formed of straight lines?
Control the temperature of your wood burner
If your wood burning pen has a temperature setting, there has no better time than this one to use it!
Wood burning letters is a detailed job that requires a lot of patience and concentration. It’s going to be difficult to go fast, but sometimes going slower means that you’ll end up burning the wood more than it’s needed, causing as a consequence, scorching marks and eventually ruining your design. This is more probable to happen if you are working on a softwood.
Using a low to medium temperature setting and going at a slow but steady pace with your wood burning pen will guarantee better results when working on letters.
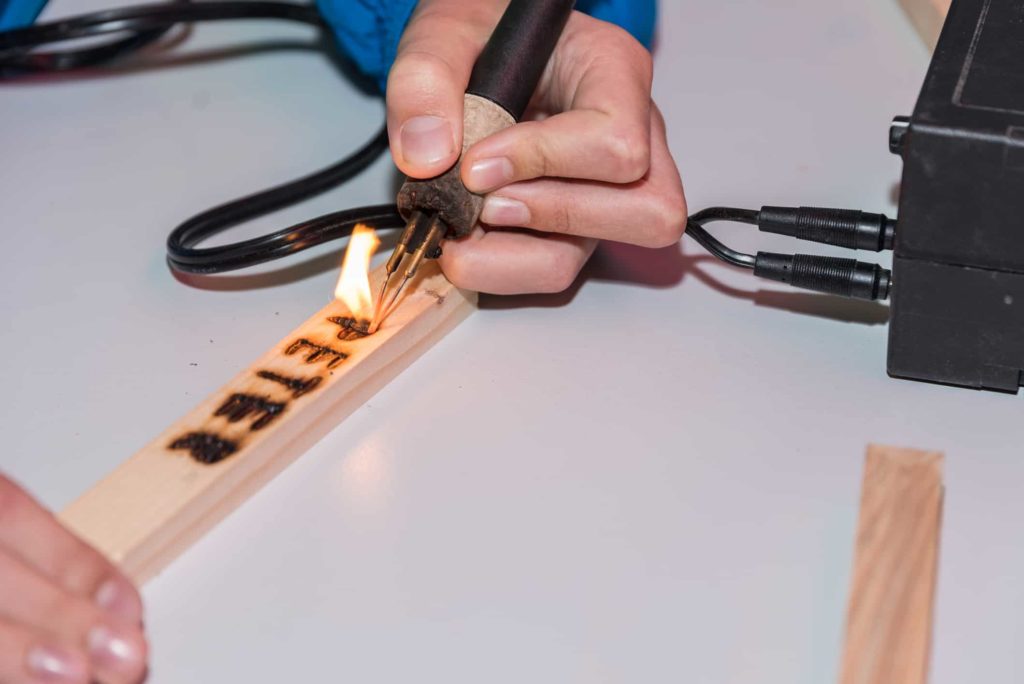
Correct speed and pressure
As we have already mentioned, when wood burning letters, it’s very important to apply the right pressure with your wood burning pen, as well as following a steady but slow pace.
You need to find a balance between the temperature settings of your pyrography pen and your working speed, always keeping in mind the characteristics of the wood you’re using. Hardwoods will take longer to burn, which means you need a hotter setting, while softwoods will burn too fast and they will require a lower temperature adjustment.
The grain of the wood also needs to be taken into consideration. Some grains are softer than the rest of the wood and they may burn faster, creating uneven parts on your writing.
When wood burning letters you also have to control and even the pressure you use when writing with a pyrography pen. Otherwise, you may end up with different colors as some parts may have burnt more than others.
